
Maker Greg Zumwalt is back on Instructables with another 3D printed coin bank. His latest creation is the Simple Secret Box II, a fully 3D printed coin bank with a secret locking mechanism.
Searching for a fun way to teach his grandchildren the valuable lesson of saving money, maker Greg Zumwalt decided to design a coin bank with a secret lock mechanism. This resulted in the Simple Secret Box II: Coin Bank, a 3D printing project that will provide you with a secure place to stash your leftover change.
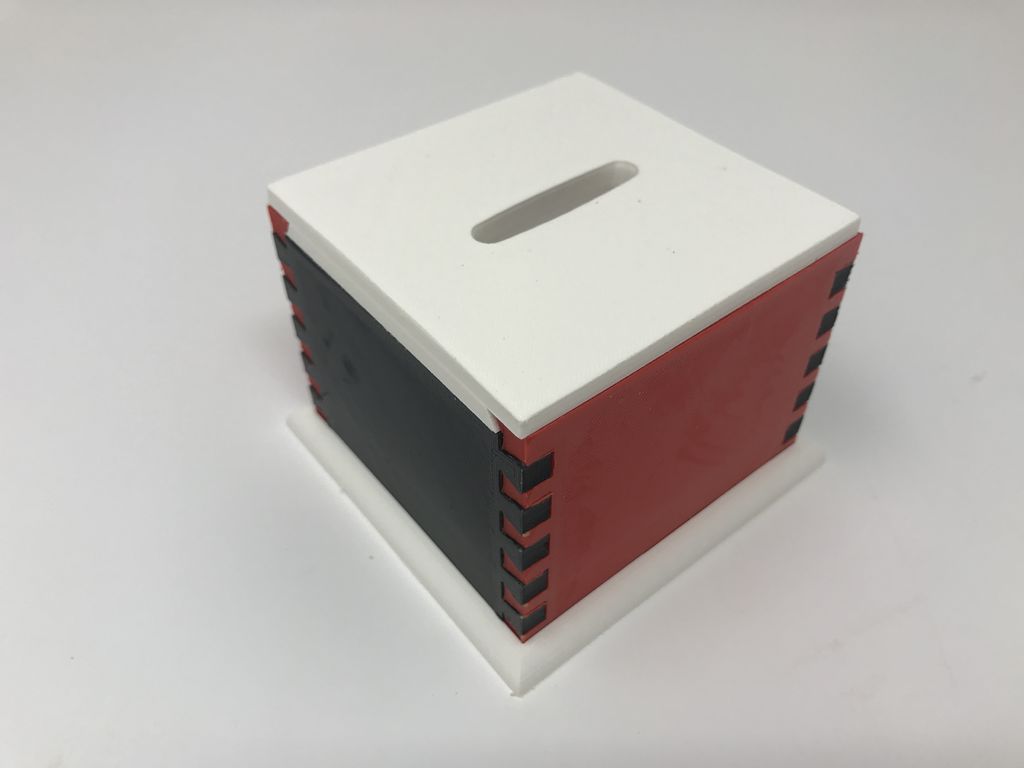
We’ve covered some of Zumwalt’s projects in the past, including a 3D printed Apple Coin Bank that utilized a similar mechanism. His latest coin bank doubles as a kind of puzzle, as the dovetail fixed joinery and a sliding dovetail top makes it tricky to open. The designer based the locking mechanism off of the German designed “Radbox”, which uses two mirror image slotted wheels to keep the box closed.
Furthermore, the Simple Secret Box II functions with no batteries, electronics, motors, or any hardware really. Zumwalt even adds some excitement by refraining to tell us how to open the box, leaving the mystery for you to figure out. All you need to make your own coin bank is a 3D printer and some filament. Let’s take a look at how to make this frugally-minded 3D printing project on your own!
3D Printed Coin Bank: What You Need & How to Build it
As we previously stated, all you need to make the Simple Secret Box II is a 3D printer, so no need to break out your wallet for electronics and other non-printed components. The STL files for this 3D printed coin bank are freely available through Zumwalt’s Instructables page.
There are nine different parts to 3D print, each of which should be 3D printed at .15mm layer height and 20 percent infill. After the parts are all 3D printed, you may need to do some sanding and post-processing in order to ensure smooth movement once everything is put together. The designer also recommends filing all of the edges that came in contact with the print bed, especially in and around the dovetail joinery.
Once you’ve finished 3D printing and cleaning up the parts, it’s time to build your coin bank. The assembly process is quite simple and is laid out in just a few photos. Start by connection the “Side, Left”, “Side, Right”, and “Divider” parts.
Next, using the “End, Lock”, “Cam 1” and “Cam 2” components, slide Cam 2 and Cam 1 onto the axle on end lock. Make sure that these cams can easily pivot on the axle. Align the end lock axle with the hole in the divider and press this assembly onto the end of the sides and divider assembly. You have to rotate the two Cam parts until the flat sides are parallel with the divider.

Use a business card to hold them in place and slide “Top With Slot” into the assembly until it aligns with end lock. Finally, remove the business card and secure the top with the “End” part and press the “Base” onto the bottom. Now you have your very own 3D printed coin bank!
To learn more about how the assembly process and how the secret locking mechanism works, check out the full project description on Instructables.
Website: LINK